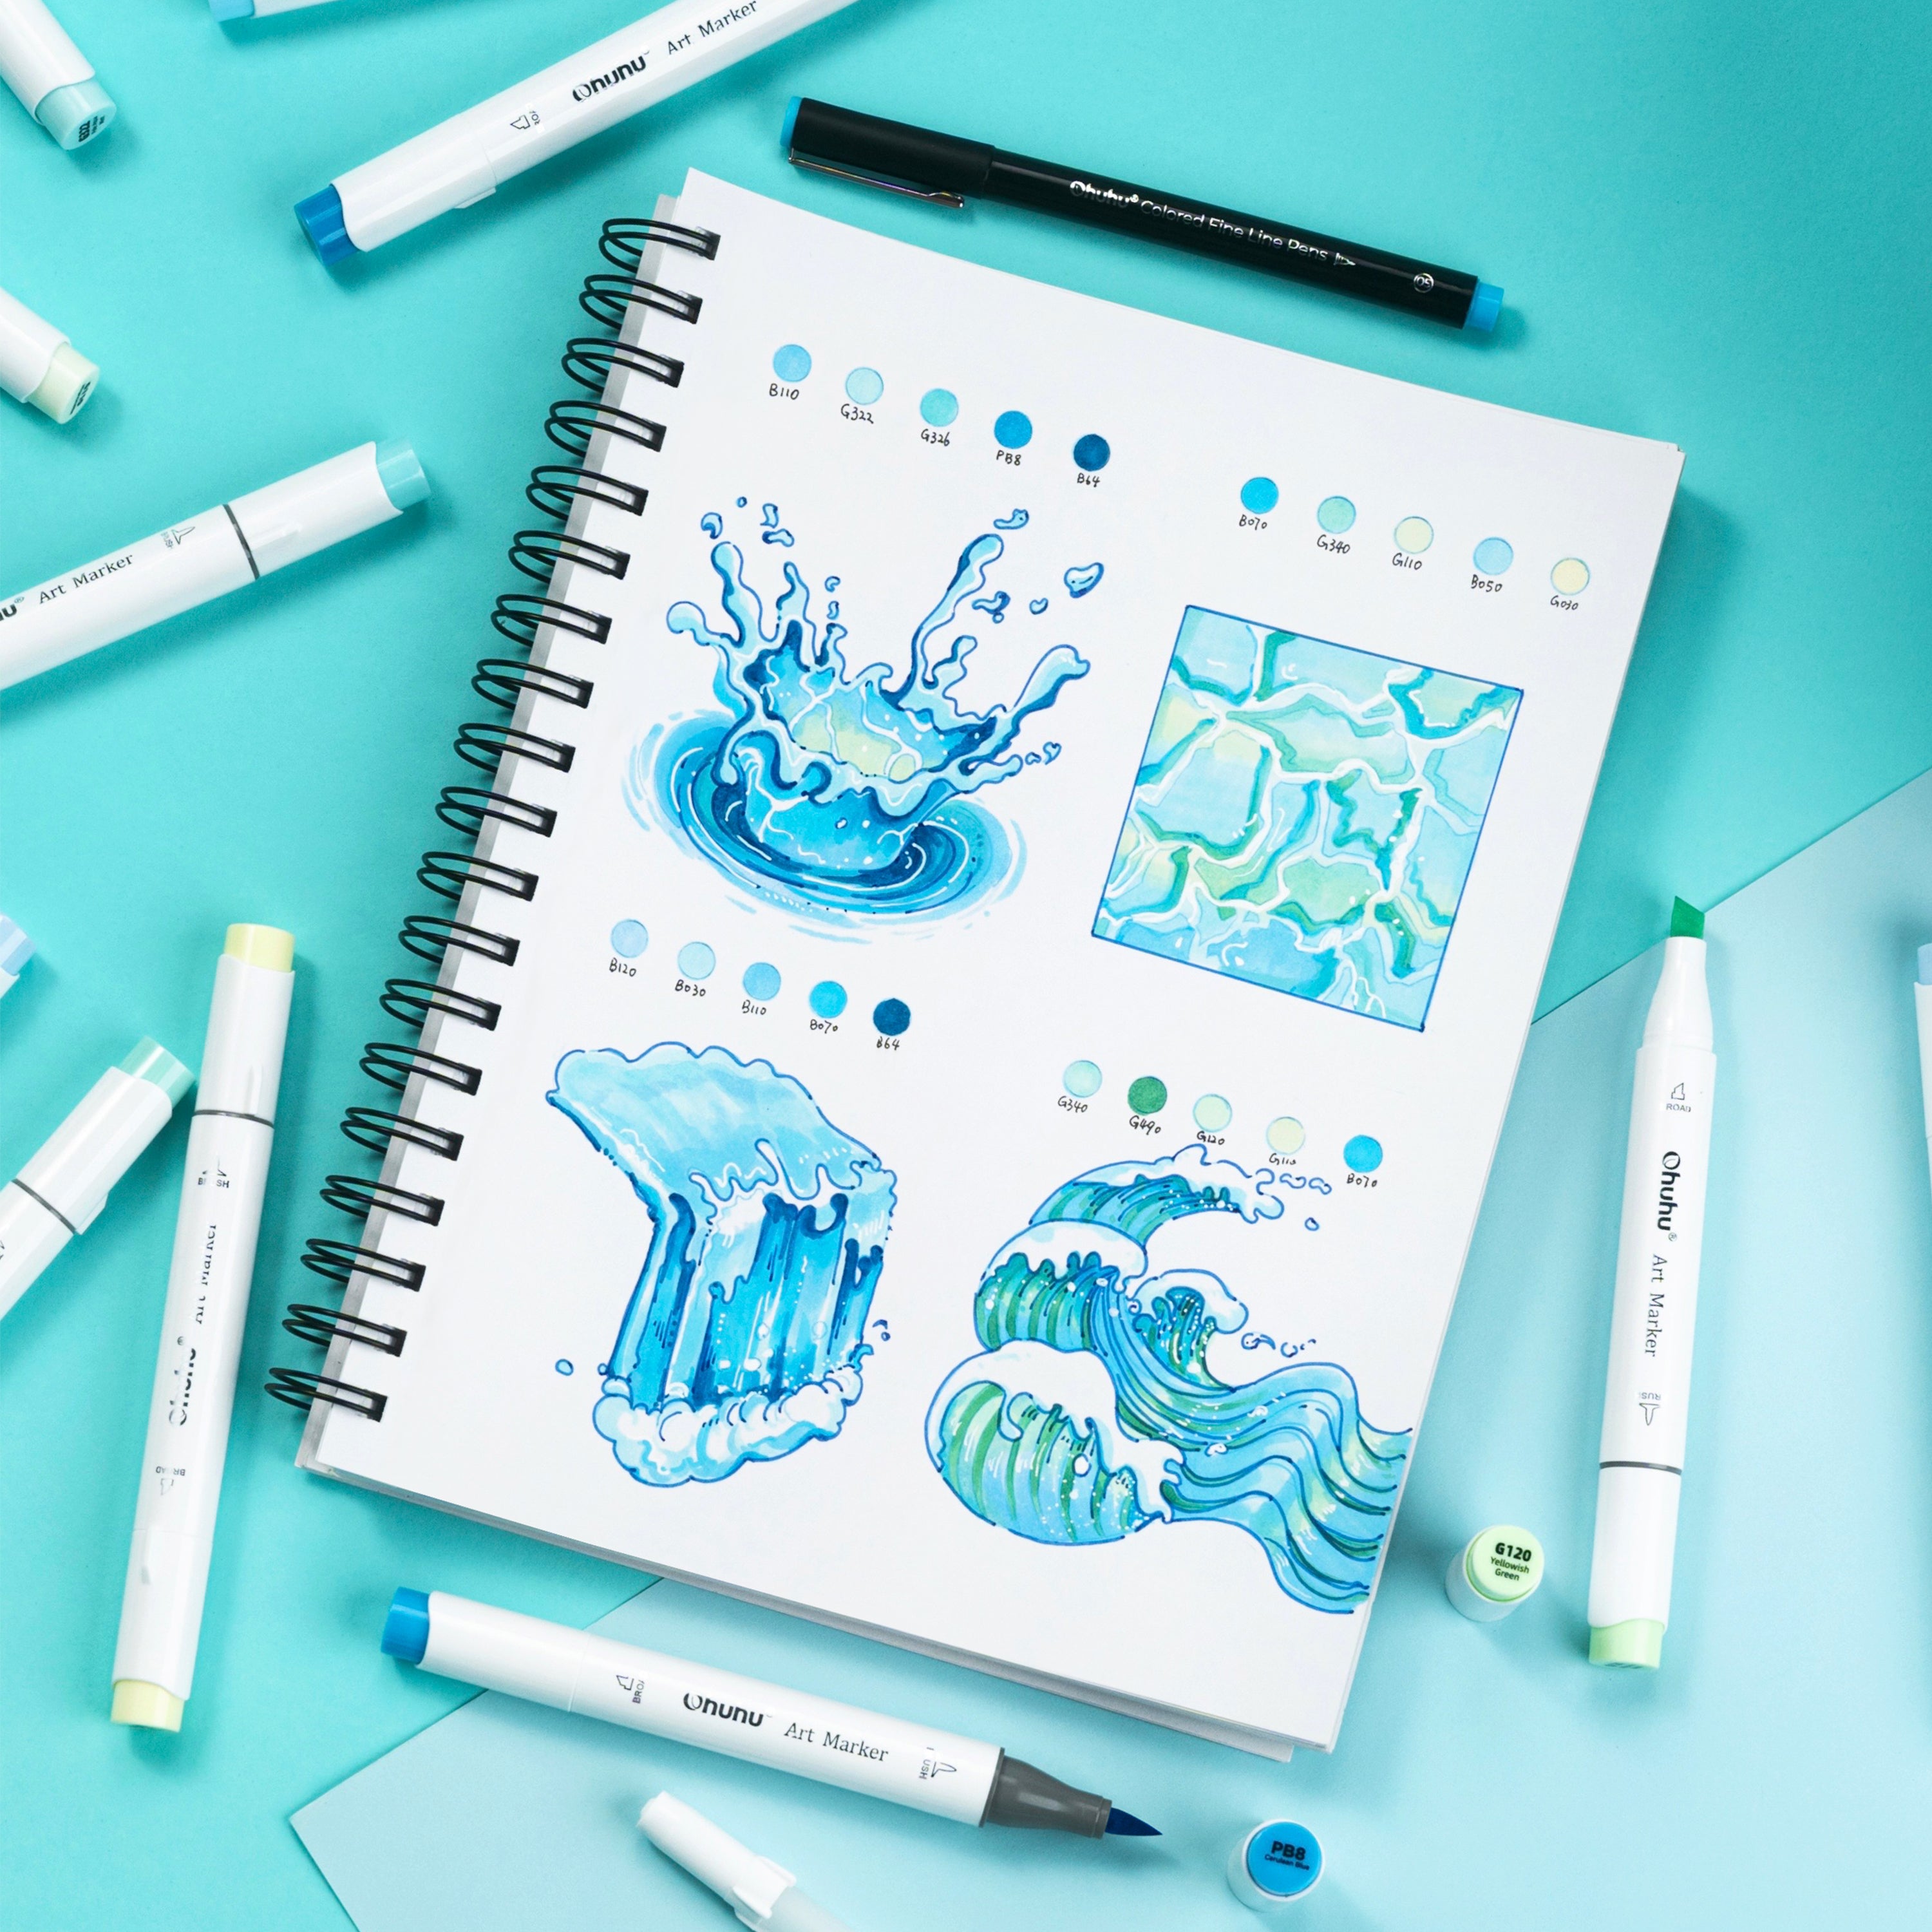
Are you ready to bring the beauty of water to life on paper? In this blog, we’ll dive into four detailed tutorials on drawing different types of water motions, each with its own unique style and challenge. Follow along as we explore splashes, ripples, waterfalls, and ocean waves—all created using Ohuhu markers and other essential tools!

The "How to Create Water Motions with Markers" series consists of four captivating parts that will guide you through different water effects step by step. This series is perfect for anyone, from beginners looking to learn basic water motion techniques to more experienced artists looking to add beautiful textures to their work. So, let’s jump into each tutorial below!
1. How To Draw Water Splashes with Markers
In the first video of the series, you’ll learn how to create dynamic water splashes. Using various colors and blending techniques, we guide you through the process of drawing splashes that convey movement and energy. This step-by-step approach will help you add realistic splashes to your artwork, whether it's for fantasy scenes or everyday illustrations.
Watch the tutorial here:
2.How To Draw Water Ripples with Markers!
Next, we move on to water ripples. This part of the series teaches you how to draw concentric ripples that give a sense of calm and serenity to your art. We explain how to use different shades of blue and how to incorporate highlights with the gel ink pens to make the ripples appear realistic.
Watch the tutorial here:
3.How to Draw the Waterfall?
In the third video, we take on the challenge of drawing a waterfall. Waterfalls bring a lot of movement and contrast to an illustration, and this tutorial explains how to achieve the appearance of flowing water. The combination of light and dark shades, as well as subtle blending, will help you create a waterfall that stands out.
Watch the tutorial here:
4.How To Draw & Color the Ocean Waves?
Finally, we explore how to draw and color ocean waves. Capturing the essence of ocean waves is all about getting the colors right and understanding the motion of water. We walks you through the use of different blues, whites, and foam textures to create the perfect ocean wave scene. This video is great for those looking to add some coastal vibes to their work.
Watch the tutorial here:
Tools Used in the Series
To create the stunning water motions in this series, we used:
-Ohuhu Honolulu 320 Colors Dual Tips Alcohol Art Marker (Brush & Chisel): This pack offers an extensive range of colors, but you can also find the shades needed for these water scenes in smaller packs like the 96 Pastel Colors or any smaller basic packs like 48 or 72 markers. You have the freedom to choose a set that works best for you.
-Ohuhu Gel Ink Pens: One of the most essential tools for adding highlights and making your artwork more lively. These gel pens are used throughout the tutorials to enhance the water textures.
-Ohuhu Colored Fineliner Drawing Pen: Perfect for adding fine details that make the water come alive.
-Ohuhu Bleedproof Pad: The right surface makes all the difference!
Grab Your Tools and Start Drawing!
With these four detailed tutorials, you have everything you need to create mesmerizing water effects. Whether it’s a splash or a gentle ocean wave, Ohuhu markers are the perfect tools to bring your imagination to life. Grab your markers, follow along, and let your creativity flow!
If you’d like to see more tutorials like this, subscribe to our YouTube channel and stay tuned for more step-by-step guides from Ohuhu's channel.
Happy drawing!


